Ain't they CUTE ! And they don't Bite! They're getting ready to fly to Nicole and Adam's Baby Shower this Coming Sunday (March 7).
I saw this in a crafting magazine not to long ago and forgot I knew how to do them. Only 3 punches, plus a fancy one.This one you necessary don't need, But I decided to use it. Never used it until now. (And it does look good in my punch collection). I also call it my "PARTY PUNCH", looks like something "NEEDED" at a party like "CONFETTI"!
LET'S GET PUNCHING...
Your Choice of Colored Cardstock
1 3/4" Circle Punch for the Body & Wings
3/4" Circle Punch - for their cute little heads
1/4" Circle Punch - for spots on the wings
The "PARTY PUNCH"- for the Antennas
I punched out everything ! The party punch was alittle stiff because of using a heavy-weighted cardstock.
Thinner in this case would have been better, after awhile the palm of my hand did take a beating. But there
is 36 of those Cuties!
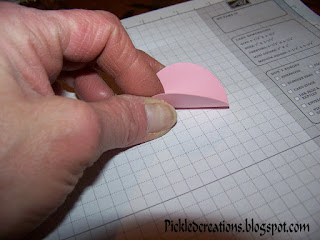
Bend the 1 3/4" circle in half.
These are going to be the "WINGS".
Cut at crease line, this is the BEST way to get to the center of a circle.
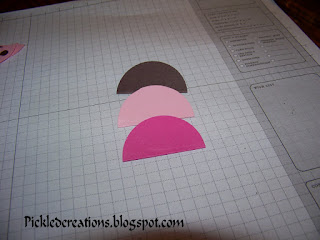
Now you have a Left and a Right Wing.
My center wings are not PERFECTLY" cut, but that's O.K.
Not one will be alike, they all will have different personalities!
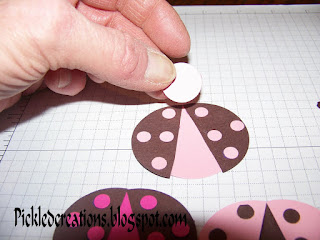
Now use the 1/4" punch for the spots on the wings. Color mix and match for the look
of your wings. Place and Glue
Place Wing half on 1 3/4" WHOLE circle. You will see in the next photo,
the distant, tilt and place both wings halvies together.
Glue, when happy with wing position
Glue the heads to the "BACK" of started LadyBug.
Should look like this.
Bend the party punch curl in half. Now you can cut in half, if you can work
with it better, either way is O.K.
Glue to the back of the head. Let sit for a minute, this will
help dry and sit the glue for a stiffer hold.
Take one of the same color circles (3/4" circle) and place and match up head. This
will hide and help to protect the Antenna's life.
Allow time for drying, check to make sure they are all firmly pressed.
With the cuties, they will serve as "PINS". I used a little squeeze of
Hot Glue, then placed Lapel Pins in glue- Do make sure that all your pins work
before glueing them to the LadyBugs.
Glue Magnets to the back to make
Refrigerator Magnets!
Until Next time,
May stamping be in your Dreams!
Harriet


1 comment:
Really like your lady bugs!!! My first time to your site. I'll be back
Post a Comment