I thought I start back in the groove with a Halloween card. The stamp sets I used were SCAREDY CAT- #122555, DARK & DREARY- #120837, MIDNIGHT MUSING- #120863 (jumbo). Other supplies I used were: BASIC BLACK INK #101179, PEAR PIZZAZZ- #119795, PUMPKIN PIE- #105117, WHISPER WHITE-#100739, DESIGNER SERIES PAPER- FRIGHTFUL SIGHT- #122351, PUNCH- #119850, DICOUNTED BRADS and HOUSEHOLD SCREENING.

Fold cardstock in half to form your card.
Next is to take your orange paper and cut into 1/4s. Your should have 4 card size pieces.
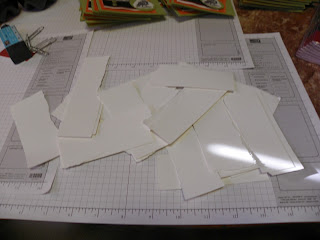
Next take your orange pieces and rip from corner downwards with about 1"rip all the way down.
Will look like this.
Stamp out card front and repeat ripping but only rip to fit into orange piece.
Going to accent front with this Designer paper.
Discounted brads were bought at Micheal's
Stamp out Raven.
Now it's time assemble card.
Fit as you go.
Punched out circles for Raven.
Rip Raven in shapely figure and glue to circles.
To give it a different look I used Screening(window) to highlight my designer paper.

Fit window screening on designer paper.Cut to desired lenght.
Punch holes for brads. And again punch at desired spot.
I added the spider to corner.
Now glue and assemble your card.
At the last minute, I decided to add glitter to my Raven.
Glue your inside to card. This is actually easier to rip then you think. Plus ripping will give your Halloween Card some character.


